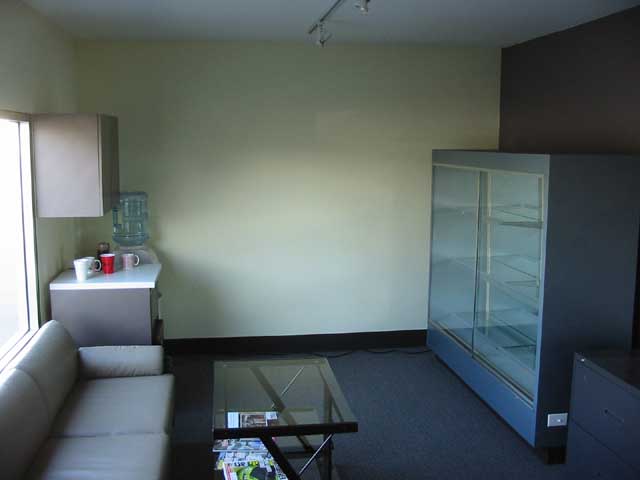
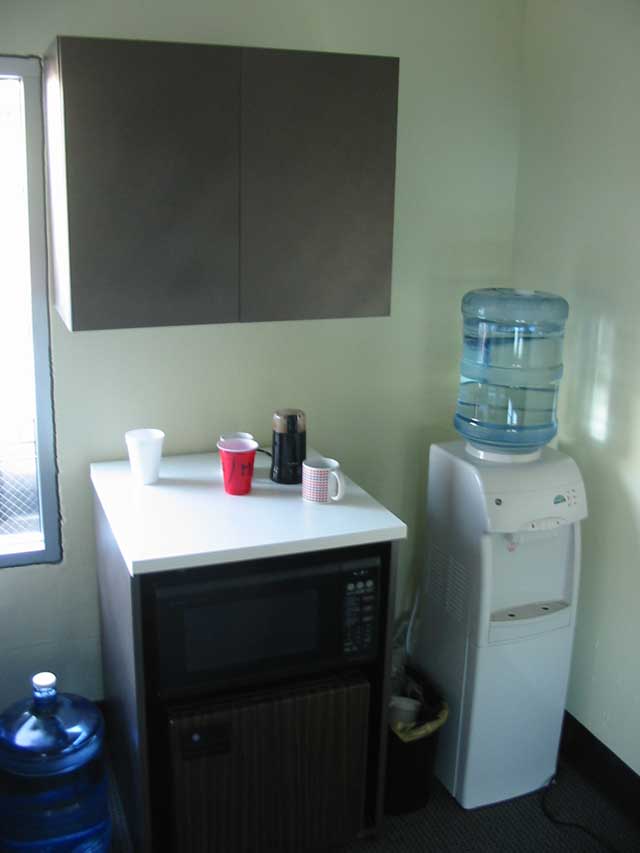
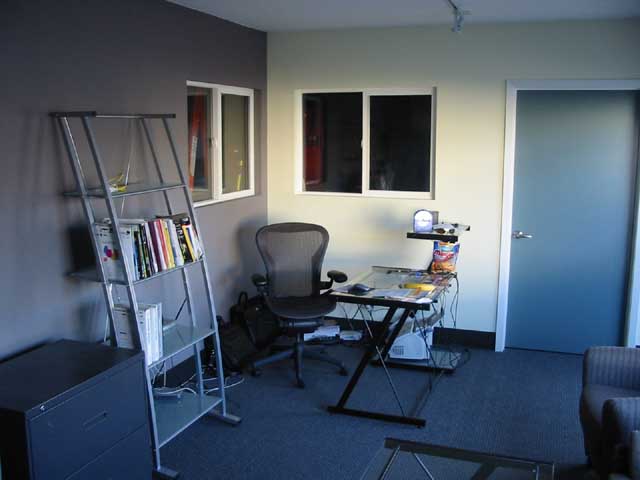
Office finished: as of around 10/16/04
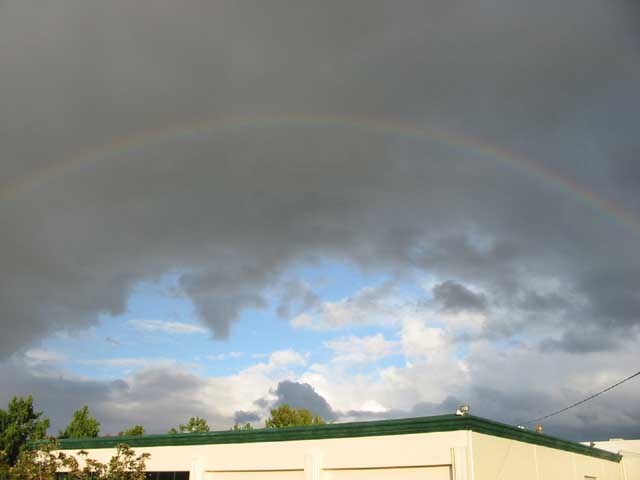
The building outside mine, on the first rainy day of
fall:
Office Paint: as of around 9/21/04
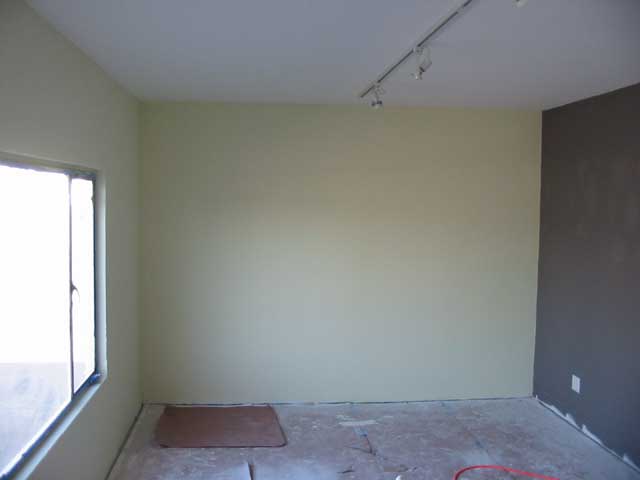
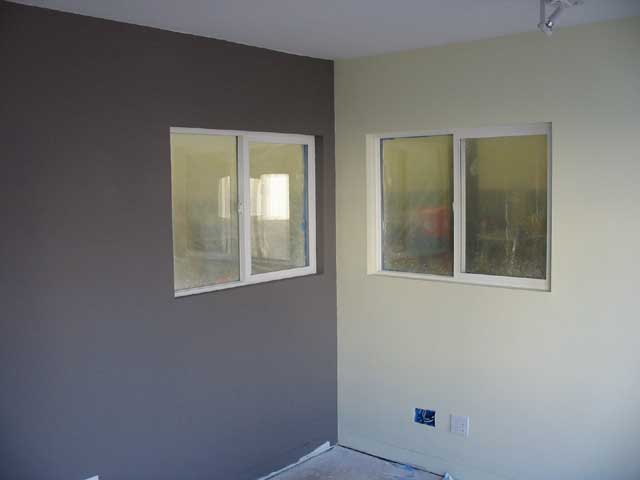
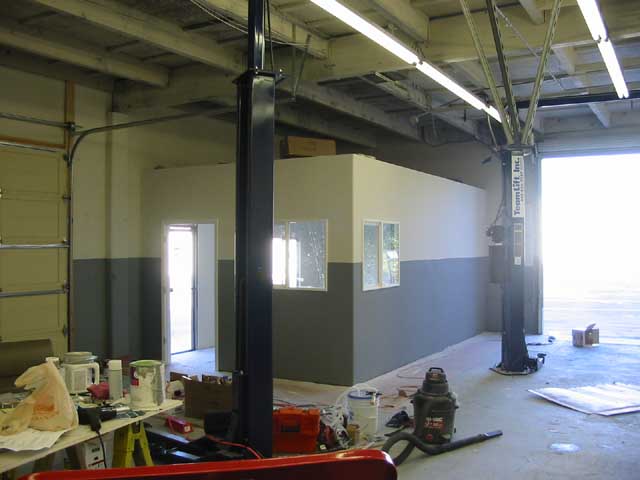
WE HAVE OFFICE WALLS! (almost done) 08/28/04
(Oh, and wiring as well--which I did the day before)
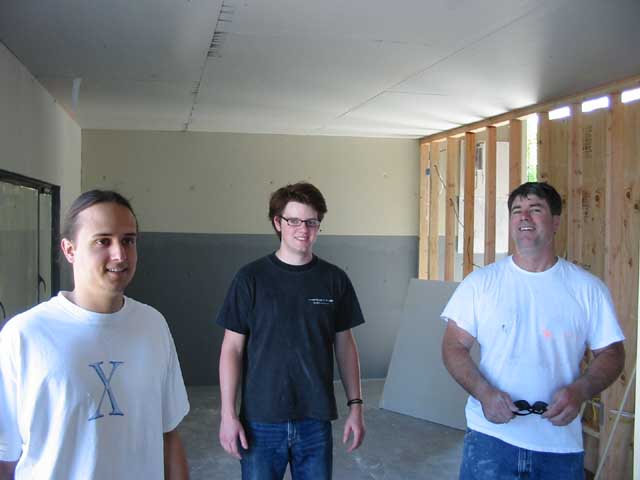
Luke, James and Jim helped me today and we put up this sheetrock
ceiling first, then ate lunch.
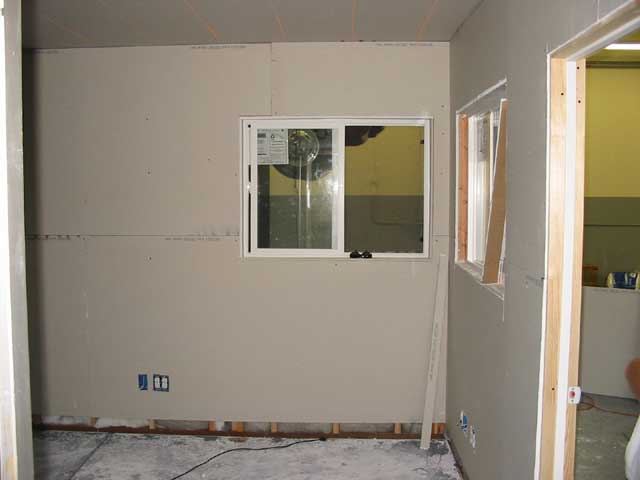
Then the inner wall went up. The bottom edge will be done
this week.
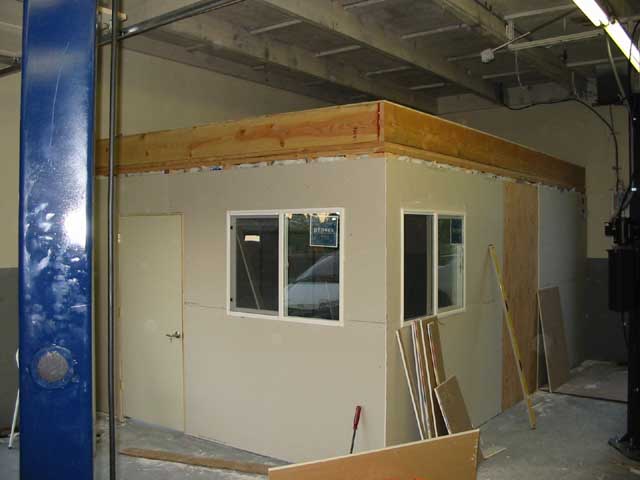
Then the outer wall went up. The upper edge will go on next week.
See below for earlier reports:
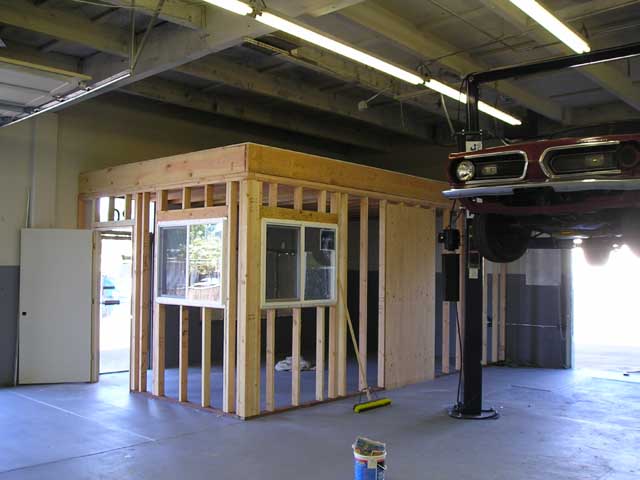
WE HAVE AN OFFICE FRAME!! 08/24/04
Amazingly, by around 10:30 am, this is how things looked, using
2 guys a friend recommended to me.
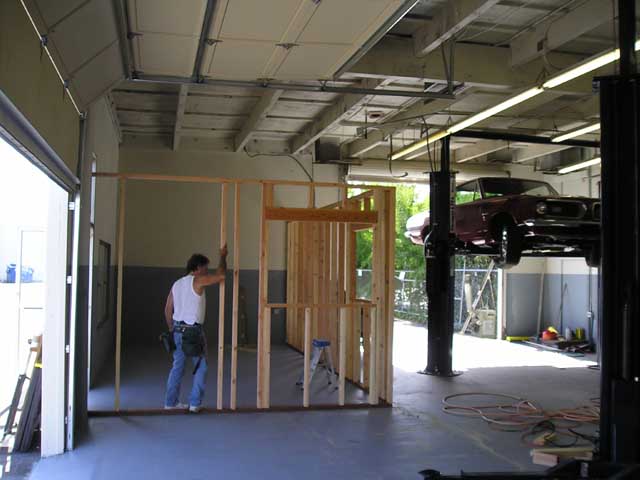
By around 4:30 or 5, it was done! A pre-hung door and 2 vinyl windows.
Now all that is needed is for me
to route electricity and then, dry-wall and paint.
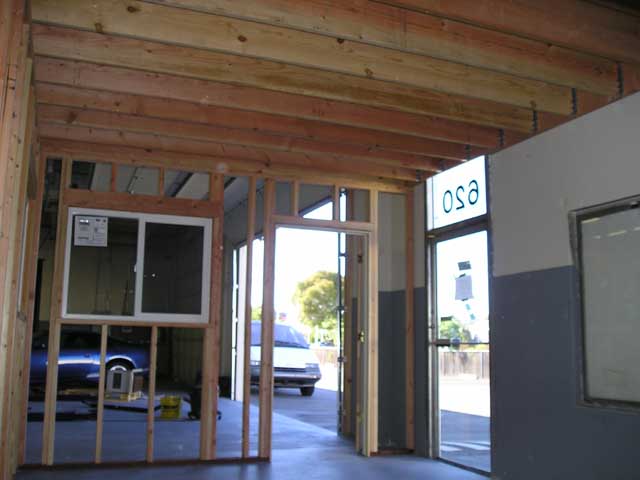
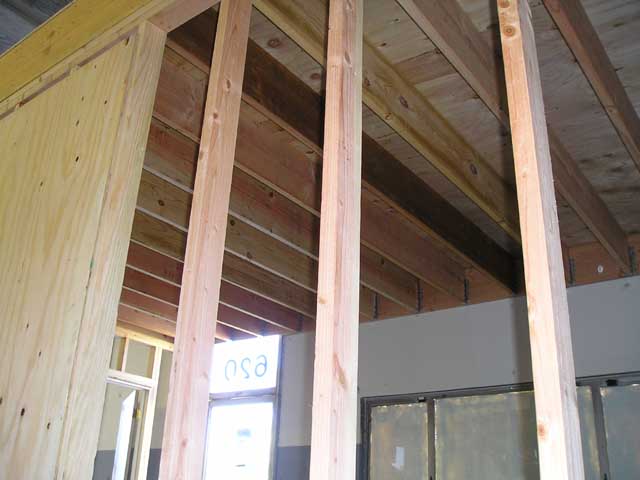
The roof of the office is thick plywood supported by 2x8" studs. It
will support alot of storage. It's almost
250 square feet!. The piece against the concrete wall is supported by
special concrete tension bolts called "Red Heads".
WE HAVE LIFTS!!!! 08/18/2004
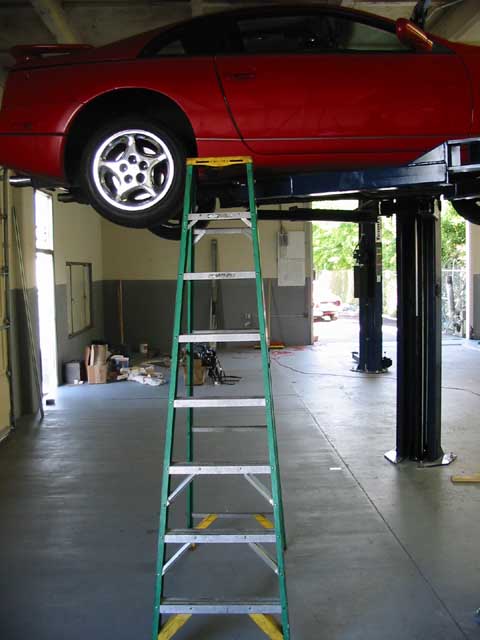
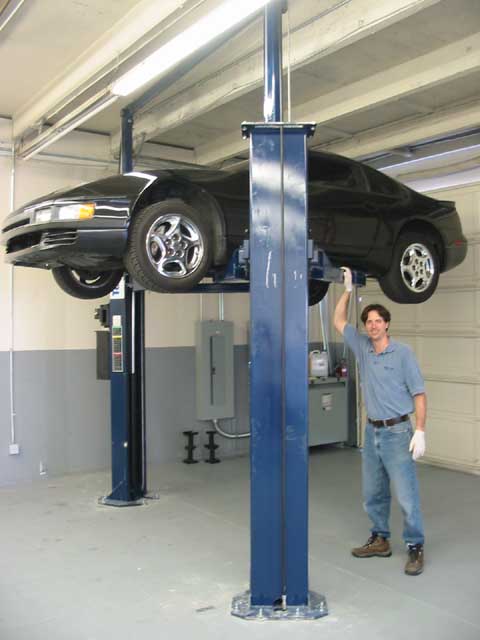
Here they are. Custom-made extra-tall lifts by TeamLift which
can lift a maximum of 90" instead of just 72"--
for every other lift on the planet.
They required custom-made hydraulic rams that are not standard.
Since I am 76" tall, the prospect of spending the rest of my lift
hunched under a lift, trying to avoid taking my scalp
off on low-hanging objects, and ruining my back, did not appeal to me.
Also, since they can lift so high, they don't require truck adaptors.
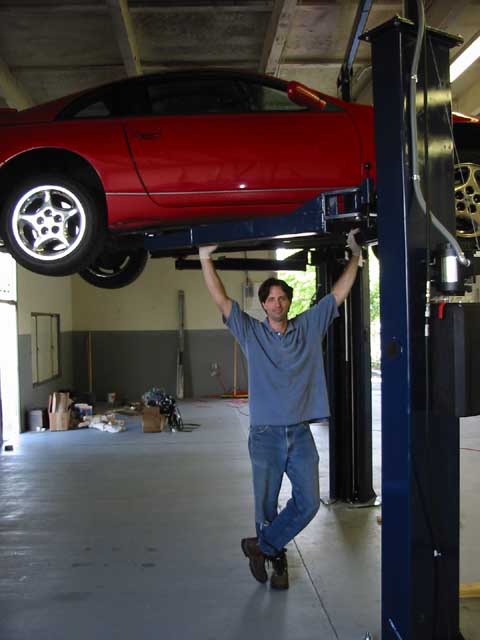
This is an 8-foot ladder!!! The lift can actually go higher! You
have to watch out
for the ceiling beams!!
See below for the progress as it came together:
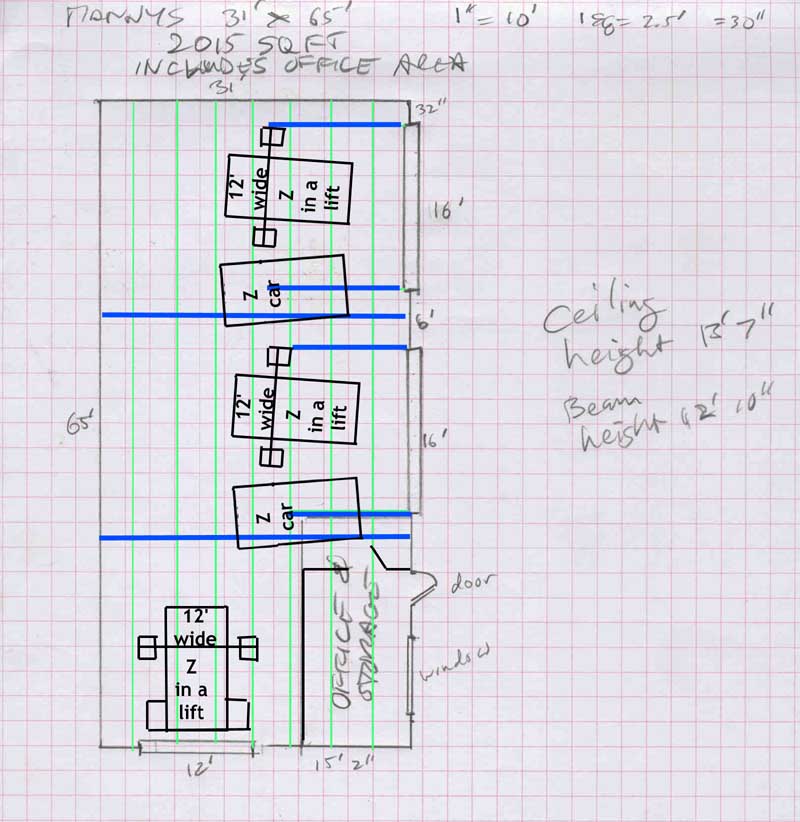
There are two very huge structural beams like this in the place. They
are shown in
the diagram in blue. The original plan called for the lifts to be
able to fit in underneath
these. But my custom-made lifts would garner little of their advantage
to lift most any
vehicle higher than 72"--if they were manufactured short enough to fit
here. A normal lift
is 11' 10" and would just fit under the structural beams, which
are about 12' 2" high.
If they are manufactured taller than normal and fitted between
the lateral beams and
very close to the structural beams, the lifts can be made as high
as 13' 6"--almost to the roof.
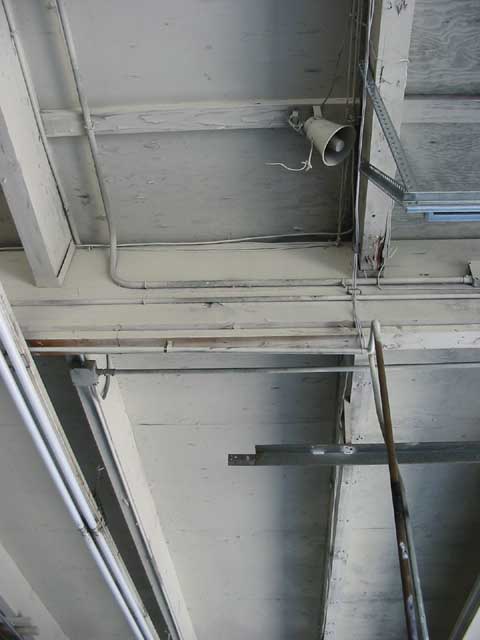
Another consideration is: the newly installed garage door hangs really
low. The track needs to be extended
upwards to get out of the way of lifted cars.
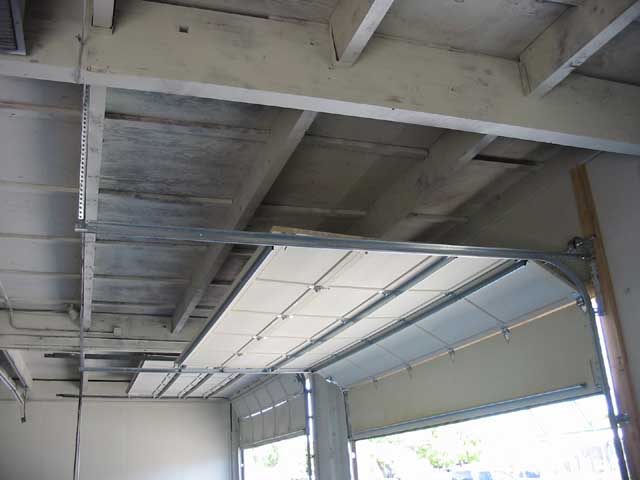
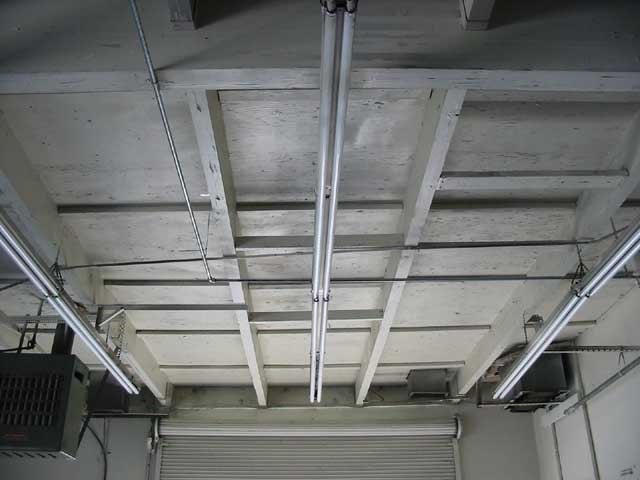
These lateral beams are in green in the diagram. They are a bit higher
up, and will impede the placement
if lift #1 on the side rollup. This lift will have to be made about 12'
6" tall or so, to fit under the lateral beams.
If we respect the big beams and try to avoid them, Lift 3 would be very
close to the wall. Not clustered with
Lift #2 in door #2. The tape on the ground shows it's outline..
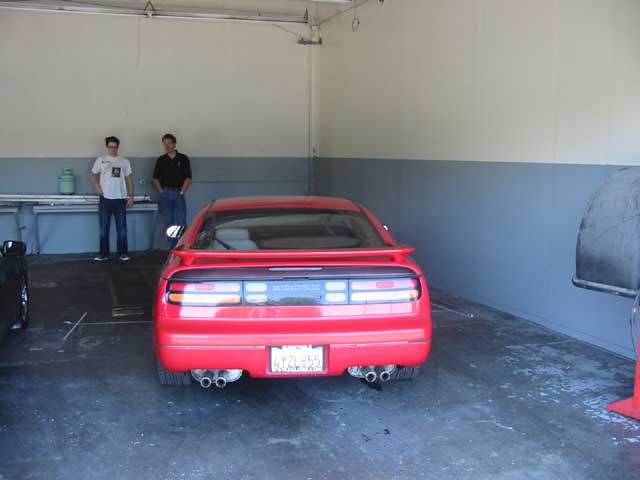
The space between Lift #3 and parked car #2. These both enter thru door
#3.
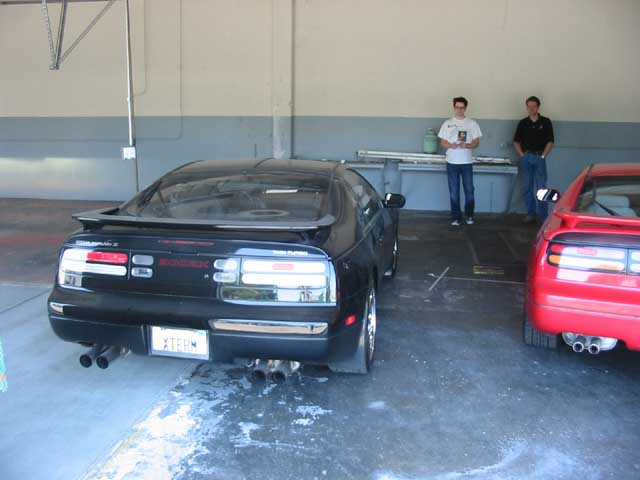
Here's car #2 and car #1 (I moved my red car over)
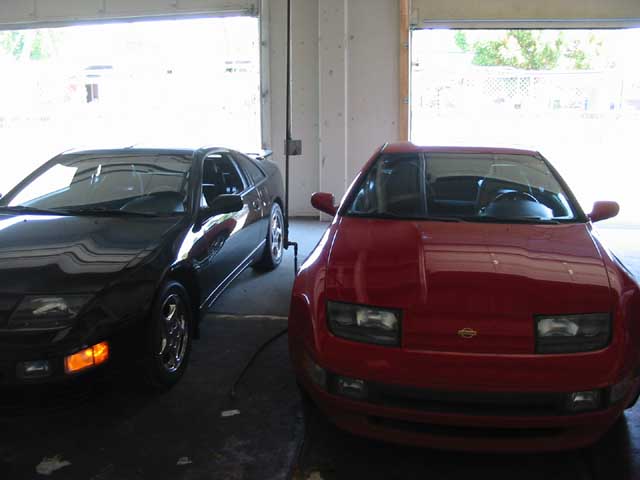
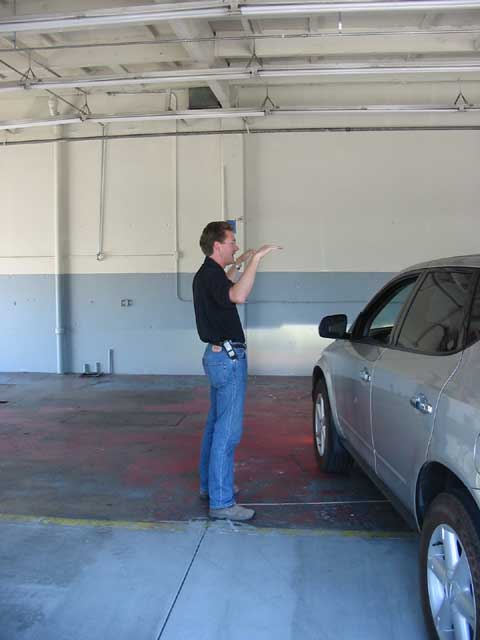
car #1 and lift #2, James is being the lift post. These enter
thru door #2.
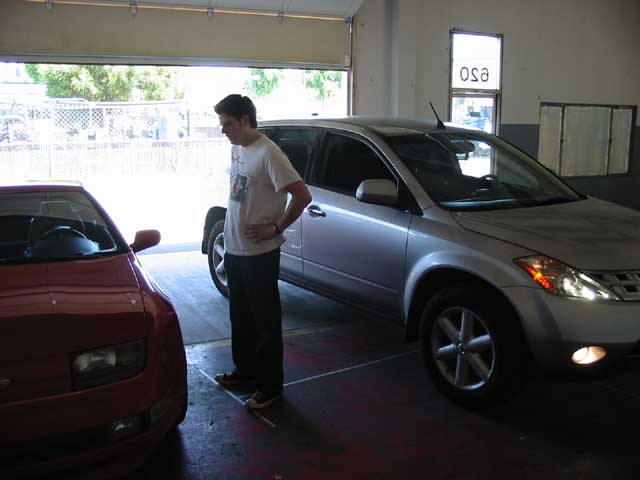
another shot of the space between lift #2 and car #1.

Carl is the other post for Lift #2, showing how much room is left for
office space
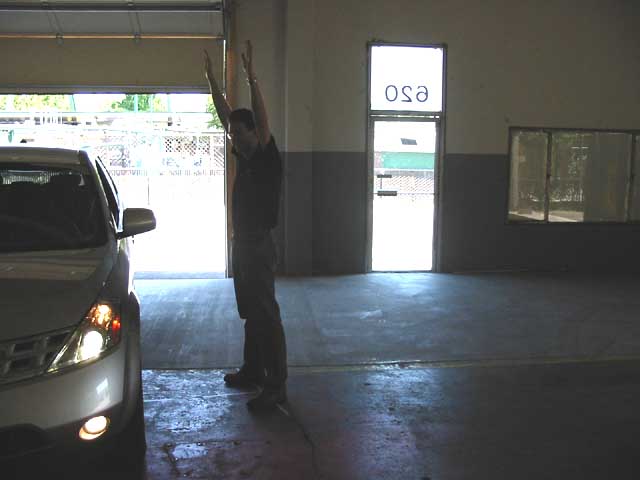
from another angle.
a general idea of how much workspace is left, which is pretty good.
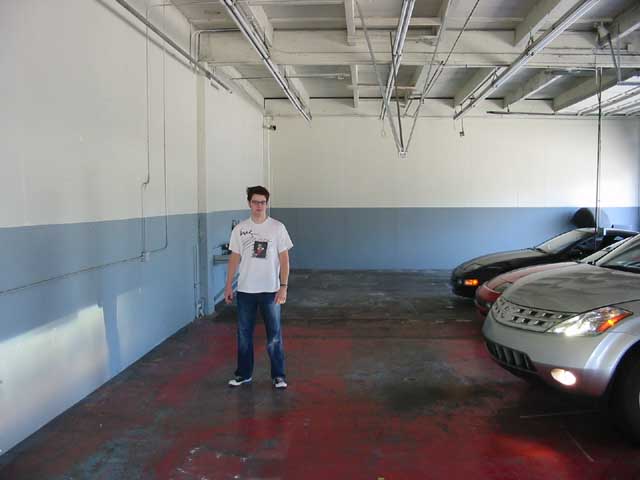
Latest pix!! (8/18/2004)
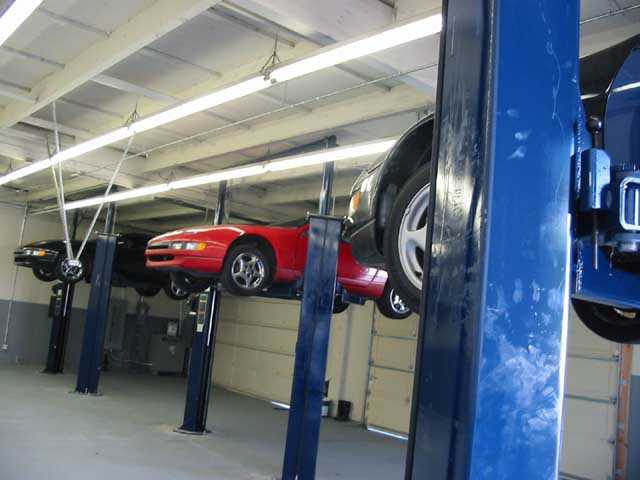
The Floor is cleaned and epoxied now, and the lifts are
placed, but not anchored. Lift #1 in the foreground
is 12' 4" tall and just clears the long beams and barely fits between
the lights.
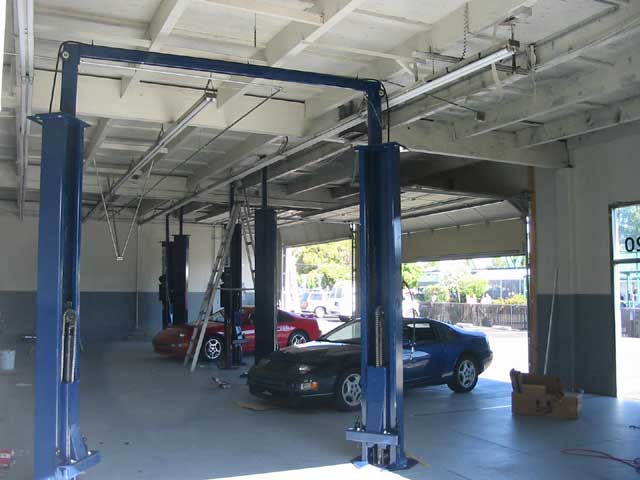
Here's the first front door with car1 and Lift 2. To the Left of
Car 1 will be an office wall, soon enough.
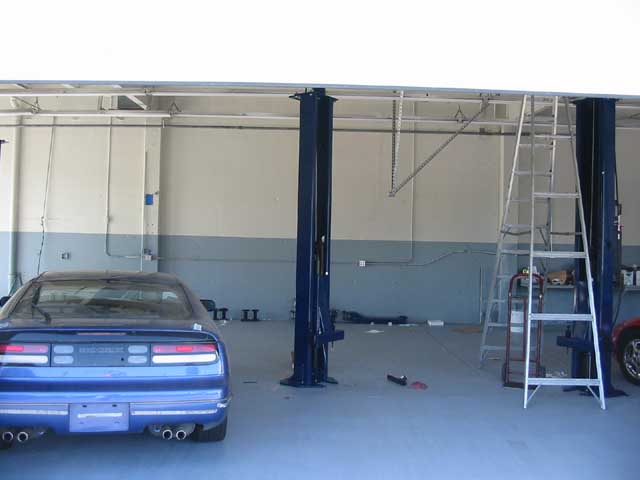
Here's the second front door with car 2 and Lift #3. This
will all have to move to the left, since the
concrete on the right foot of the lift is too thin.
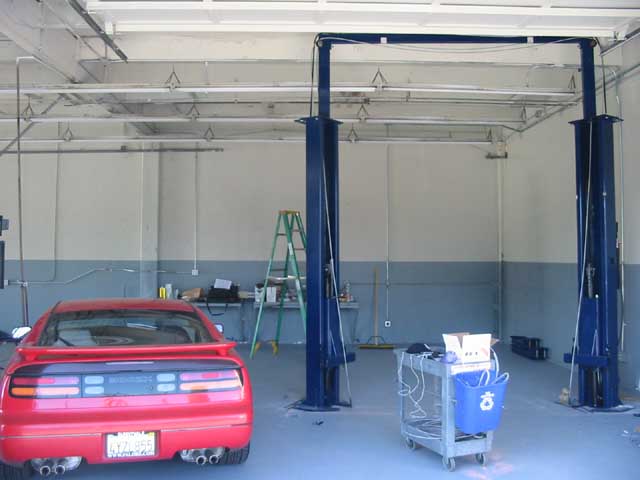
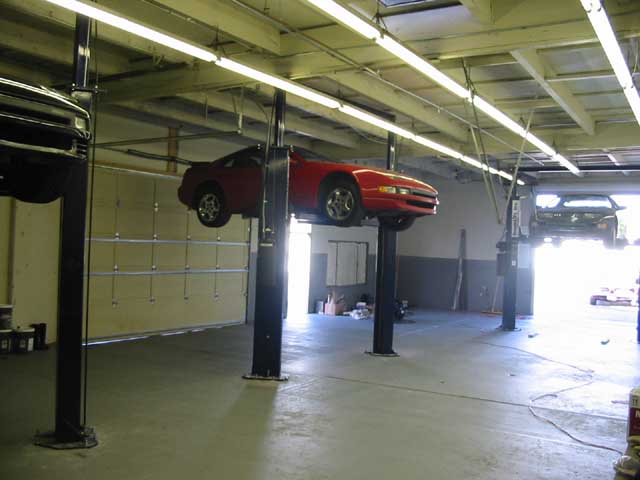
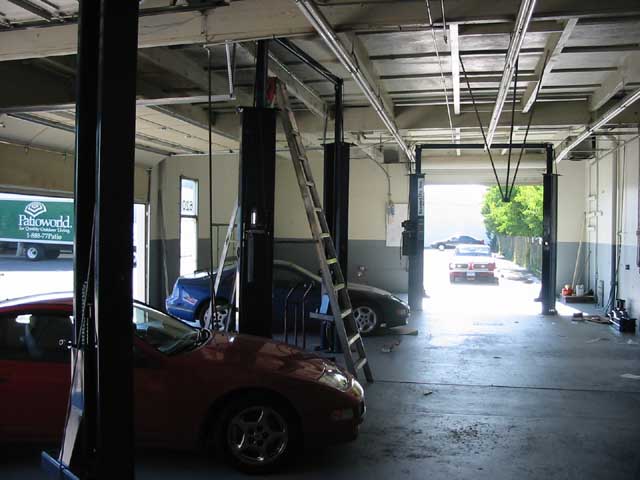
A view of lift one and the side roll-up door. You can see how Lift #2
and 3 tuck up in between the beams.
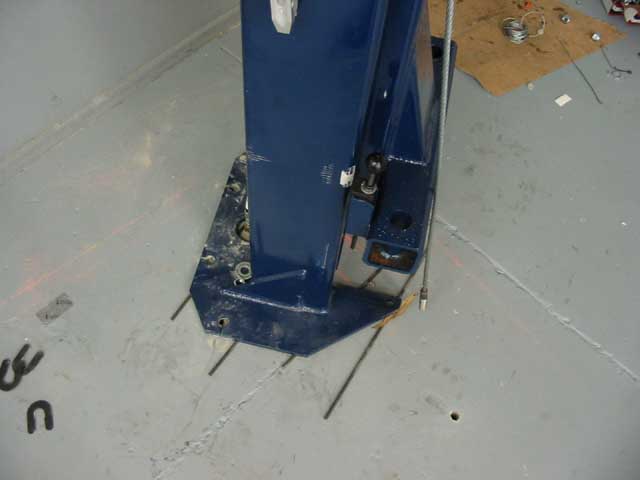
Lift #3 cannot be put so close to the wall as we wished. The concrete
is dangerously thin on that slab. Rolling it
on small steel rods towards the next slab will work, since that
concrete is fine (see the test-hole).
Here's the final proposed layout. All items move downwards from the
wall at the top of the picture and start to get
more crowded near the office wall.
